 how-to
How to Install an EV Charger at Home Safely
Table of Contents
- EV Charger Installation Requirements Before You Start
- When DIY Is Unsafe or Legally Restricted
- Home EV Charger Installation Steps, Phase by Phase
- EV Charger Load Management Explained
- Permits, Inspection and Testing After Installation
- Home EV Charger Installation Cost and Realistic Timelines
- Common Installation Mistakes and a Safety Checklist
- Frequently Asked Questions
Last Updated: October 17, 2026
EV Charger Installation Requirements Before You Start
Installing a home EV charger safely starts with knowing what your property can handle. This guide covers EV charger installation from survey to final certificate, including the parts most guides skip.
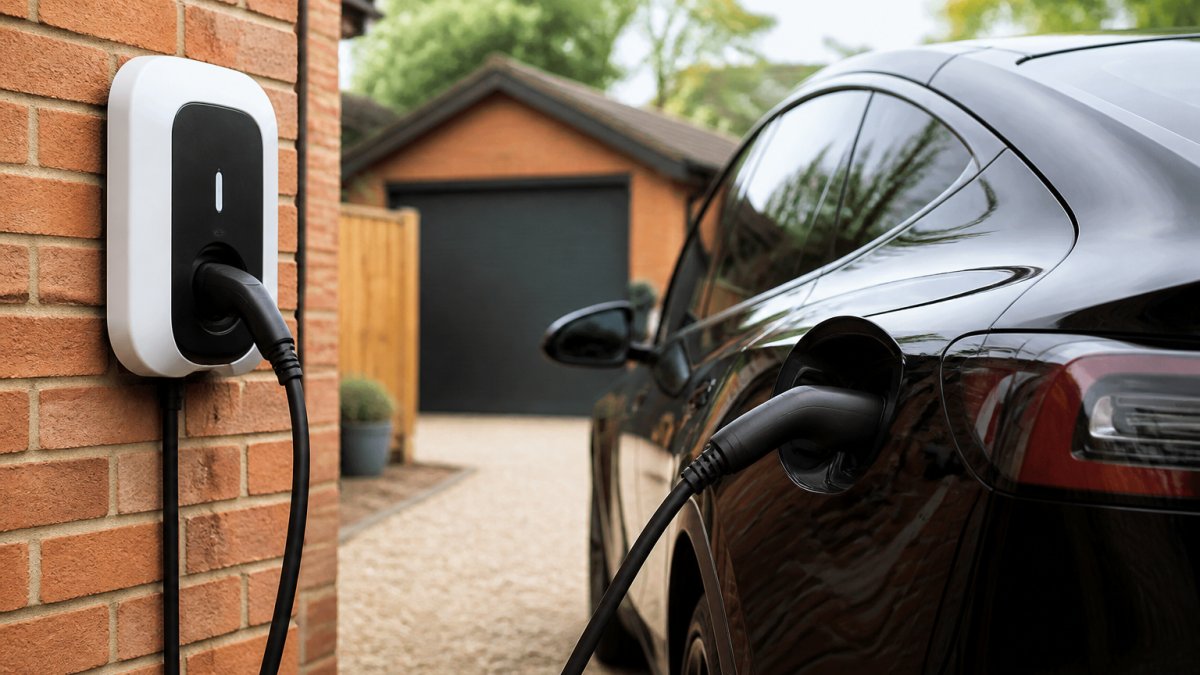
A home EV charger is a wall-mounted unit that supplies mains power to your vehicle's battery through a dedicated circuit. In the UK, most homes use a 7kW unit on a single-phase supply, enough for a useful overnight charge.
Charger type, charging level and vehicle compatibility
Match the charger to your car and your parking before you buy anything.
- Charging level: Most homes use AC Level 2 charging at 7kW. A 22kW unit only helps if your vehicle's onboard charger accepts it.
- Tethered or socketed: Tethered units have a fixed cable. Socketed units let you use your own.
- Smart capability: Off-peak scheduling and load control now matter more than raw power.
Check your vehicle's maximum AC charging rate first. Buying more power than the car accepts is money wasted.
Checking your electrical capacity, fuse box and earthing
Electrical capacity is the total load your supply can carry. A 7kW charger adds roughly 30 amps, a serious draw on an older single-phase supply.
Your electrician will check:
- The rating of the main fuse and meter tails
- Free ways in the consumer unit, or whether a new dedicated circuit is needed
- Earthing arrangements, including protective bonding
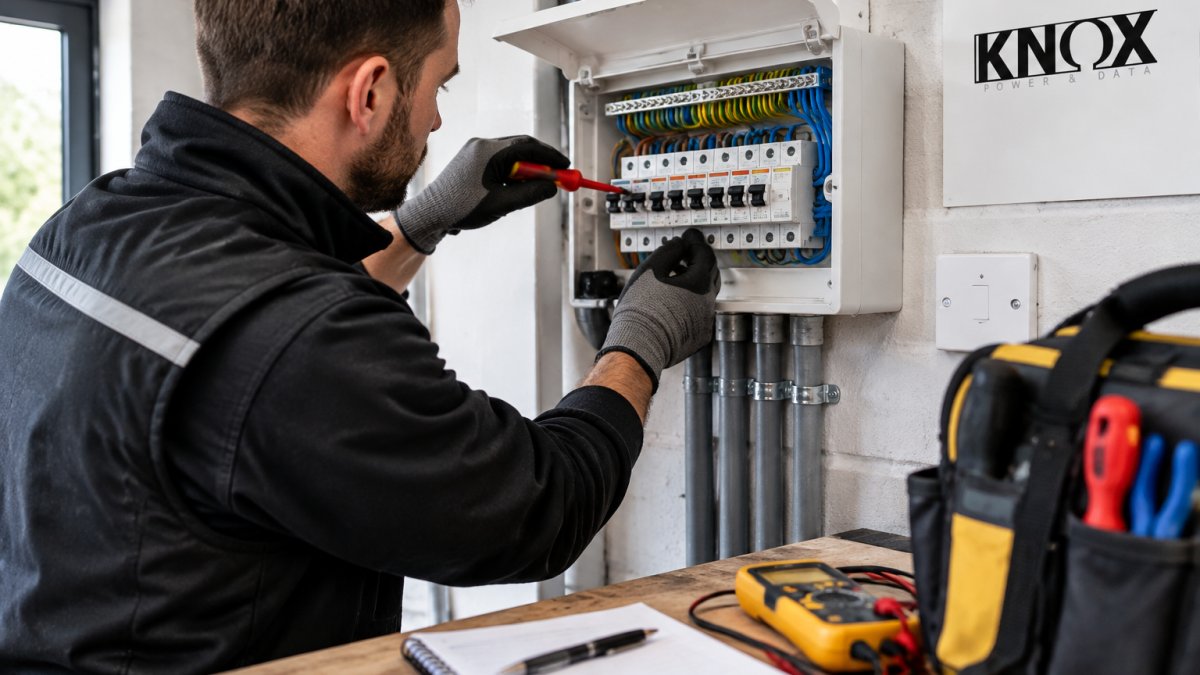
An outdated fuse box with rewireable fuses or no RCD protection usually needs work before a charger goes in. That is a safety requirement, not an upsell.
When DIY Is Unsafe or Legally Restricted
EV charger installation is not a DIY job in the UK. A charger is a fixed electrical installation, so the work must comply with BS 7671 and be notified under Part P of the Building Regulations in England and Wales.
The risks are real:
- No RCD or wrong earthing can leave the unit dangerous in a fault.
- Undersized cable overheats under sustained charging load.
- No testing or certificate leaves you with no proof the work is safe.
Some tasks are genuinely fine to do yourself: clearing the route, deciding where the unit goes, and choosing the model. The electrical connection, testing and certification are not.
Home EV Charger Installation Steps, Phase by Phase
Here is how a proper home EV charger installation steps sequence runs, in the order a qualified installer works through it.
Planning charger location and cable routing
Charger location decides most of the cost and hassle. Good placement means:
- Close to where you park, within easy reach of the charge port
- Sheltered from direct driving rain where possible
- Near the consumer unit to keep cable length and voltage drop down
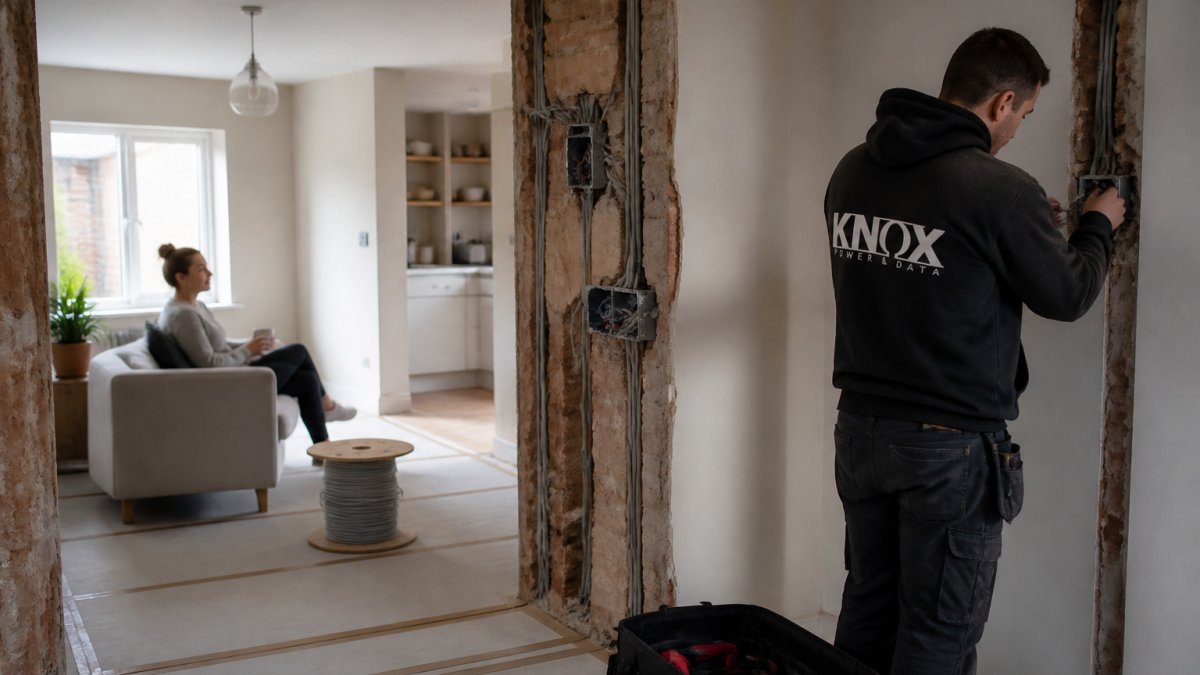
Cable routing then follows: along walls, through lofts or under floors, using suitable containment. A longer run means thicker cable and more labour, so moving the unit a few metres can change the quote.
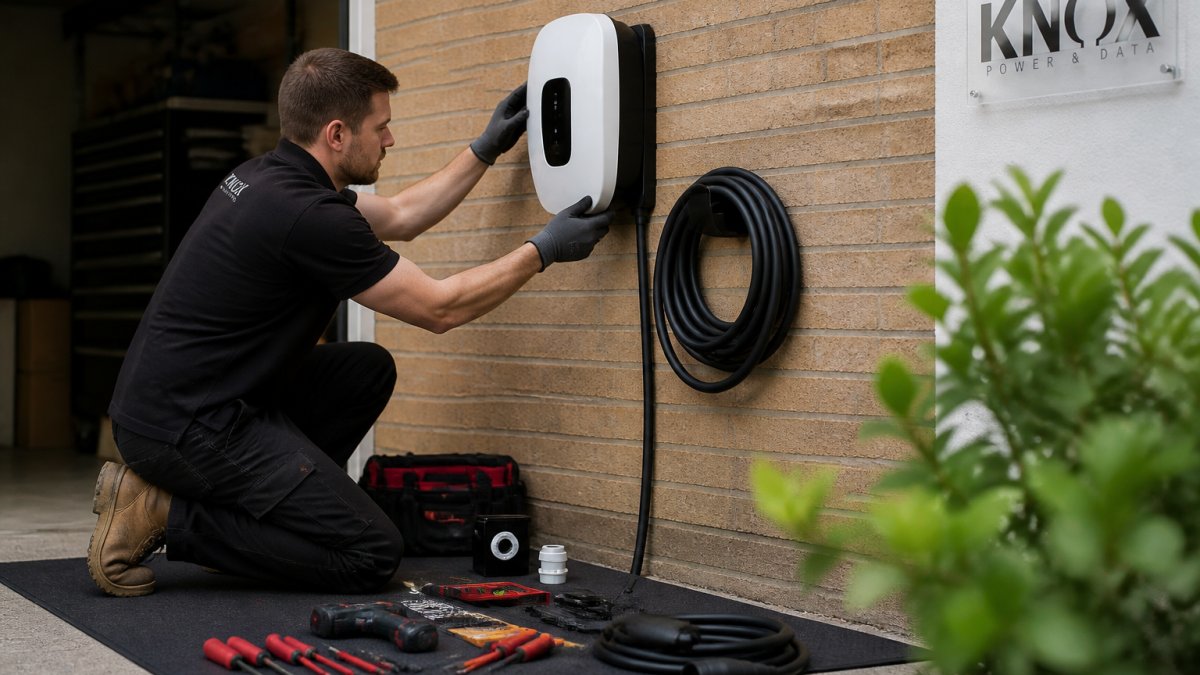
Running cable, the dedicated circuit and the circuit breaker
The charger gets its own dedicated circuit back to the consumer unit. Nothing else shares it.
The installer will:
- Run the correctly sized cable from the unit to the board
- Fit a circuit breaker and RCD protection rated for the load
- Connect and torque the terminals properly
- Confirm grounding and bonding are sound
- Test insulation resistance, continuity and RCD trip times
- Complete the certificate and hand over
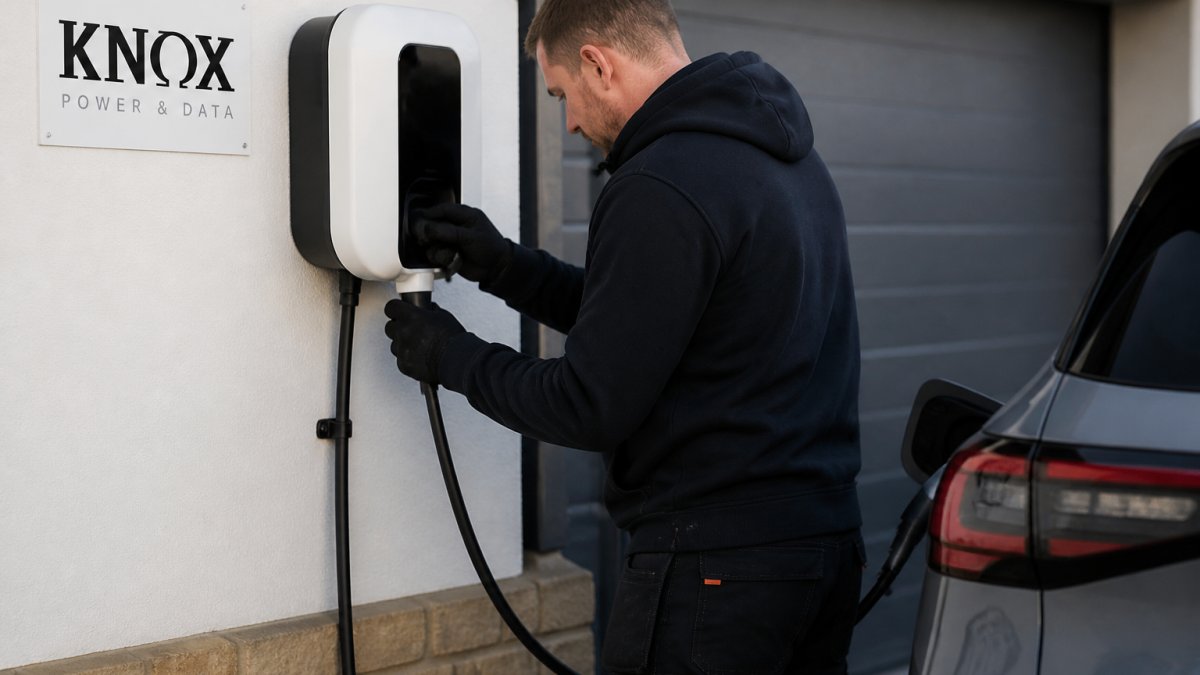
Testing and commissioning are not optional extras. They are how you know the installation is safe and compliant.
EV Charger Load Management Explained
EV charger load management watches your home's total power use and reduces the charger's draw when other appliances run, letting a charger work on a supply that could not otherwise carry the full load. Here is the arithmetic an installer actually works through.
The capacity calculation in plain language
A single-phase UK supply is typically rated at 60A, 80A or 100A at the main fuse, and a 7kW charger draws roughly 30A continuously. The question is whether the charger plus everything else running at once stays under the fuse rating.
The installer's rule of thumb is to add up the continuous loads that are likely to run together:
- Electric shower: often 8-10kW, so roughly 35-45A
- Electric oven plus hob: often 7-10kW combined
- Heat pump: typically 3-5kW running load
If that total plus 30A for the charger exceeds the main fuse rating with a sensible margin, the supply is constrained, the point where load management or an upgrade becomes the decision.
Worked example
Take an 80A single-phase supply with an electric shower (40A) and a 3kW immersion heater (13A). Adding the charger's 30A gives 83A, over the fuse rating. A static limiter set to 20A brings the total to 73A at the cost of slower charging; a dynamic system allows the full 30A whenever the shower and immersion are off, throttling only when they run.
Static versus dynamic load management
- Static load limiting: the charger is capped at a fixed lower current, set at commissioning. Simple, cheaper, and predictable, but you lose charging speed even when the house is quiet.
- Dynamic load management: a current sensor at the supply continuously adjusts the charger to keep total demand within safe limits. More flexible for older properties or homes with electric heating and showers, and it often avoids the need for a supply upgrade.
When load management beats a supply upgrade
A supply upgrade, asking the distribution network operator to increase the main fuse, can involve significant cost and disruption, and sometimes the network cannot offer more capacity without reinforcement work. Load management is usually the lower-cost route when:
- The main fuse is adequate for the base load but not the charger plus peak appliances
- The high loads are intermittent (showers, ovens, immersion heaters)
- The consumer unit has space for the sensor and charger circuit
A supply upgrade is the right call when the base load alone is close to the fuse rating, when multiple high-load appliances run continuously, or when the property is likely to add a heat pump and a second EV in future. In that case, load management only defers the problem.
What the installer needs from you
To size load management correctly, the survey needs the main fuse rating, the consumer unit's rating and type, a list of high-load appliances, and the charger's maximum current. Without those, any setting is a guess. A good installer records the calculation and setpoint on the commissioning paperwork.
Permits, Inspection and Testing After Installation
Compliance is where cheap installations quietly fall short. A compliant job includes:
- Building Regulations notification under Part P
- A completed Electrical Installation Certificate or minor works certificate
- Testing results recorded, including RCD operation
Keep the certificate, you will need it if you sell, rent out, or claim on insurance. A charger with no paperwork is a liability, not an asset.
At Knox Power & Data, our NAPIT-registered team issues full certification on every job, and we are qualified to BS 7671 18th Edition and inspection standards.
Home EV Charger Installation Cost and Realistic Timelines
Home EV charger installation cost depends on four things: the unit, the cable run, the state of your consumer unit, and whether load management or a supply upgrade is needed.
Itemised cost breakdown
Prices vary by region and by installer, but the pattern is consistent. As a planning guide:
| Item | Typical range (GBP) | Notes |
|---|---|---|
| 7kW smart charger unit | £400-£800 | Tethered units sit at the upper end; socketed units lower |
| Standard installation labour | £300-£600 | Assumes a straightforward cable run and a consumer unit with a spare way |
| Longer or complex cable run | £100-£400 extra | Per additional 5-10 metres, or where routing through walls, lofts or under block paving is needed |
| Consumer unit upgrade | £400-£800 | Needed where there is no spare way or no RCD protection |
| Dynamic load management | £200-£500 | Includes the current sensor and commissioning |
| Supply upgrade (DNO) | £1,000+ | Highly variable; some properties cannot be upgraded without network reinforcement |
| Building Regulations notification | Often included | Confirm it is in the quote, not added later |
What pushes a quote up
- Cable run length and routing. Every extra metre means thicker cable to control voltage drop, plus labour. Routing through a finished wall or under a driveway adds cost quickly.
- Consumer unit condition. An older board with rewireable fuses or no RCD protection usually needs replacement first.
- Earthing arrangements. A TT supply (with an earth rod) may need additional protection measures.
Realistic timelines
- Survey and quote: usually within a week of enquiry, often same-day for a standard property.
- Standard installation: one day on site once the unit is in stock and the quote is accepted.
- Consumer unit upgrade: add half a day to a day, and the property may be without power for part of that time.
Expect a two-to-three-week gap between accepting a quote and installation, driven by charger stock and installer availability. If you have a deadline, a new car arriving, for example, book the survey early and confirm stock before agreeing a date.
Getting a quote that holds
Ask for the quote to itemise the unit, labour, cable run, consumer unit work, load management and notification, a lump sum hides the variables that change on the day. Confirm it includes Building Regulations notification and the Electrical Installation Certificate, and ask what happens if the survey reveals a consumer unit needing replacement. A good quote states the contingency upfront.
Common Installation Mistakes and a Safety Checklist
Most failures come from rushing the survey, not the fitting. Common mistakes include:
- Wiring the charger into a shared circuit
- Skipping load management on a limited supply
- Poor cable routing that leaves a trip hazard
Use this checklist before you sign off any installation:
- Vehicle's maximum AC charge rate confirmed
- Supply capacity and main fuse checked
- Earthing and bonding verified
For guidance on the wiring rules themselves, the IET's guidance on BS 7671 is the reference installers work to, and GOV.UK's guidance on building regulations approval explains when notification applies.
Frequently Asked Questions
Does a home EV charger need its own dedicated circuit?
Yes. A 7kW home charger draws around 30 amps continuously, so it needs a dedicated circuit from the consumer unit with its own circuit breaker and RCD protection. Sharing a circuit with sockets, lights or an oven risks overload and nuisance tripping. The circuit must be sized and installed to BS 7671, with the cable rating matched to the run length and installation method. A qualified electrician will confirm spare capacity in your consumer unit before any work begins, and may need to fit a new way or upgrade the board.
Who is qualified to install a home EV charger?
In the UK, charge point installation is notifiable work and should be carried out by a competent electrician who is registered with a government-approved scheme such as NAPIT or NICEIC. That registration lets them certify and notify the work under Part P of the Building Regulations. They should also hold BS 7671 18th Edition qualifications and, for charge points, specific EV installation training. Ask for the registration number and confirm it before booking. A general handyman or an unregistered installer cannot legally self-certify the work.
Can I charge an electric car from a standard home socket?
You can, using a three-pin plug and a granny cable, but it is slow and not ideal for regular use. A standard socket delivers roughly 2.3kW, so a full charge can take well over 12 hours, and continuous high current through a domestic socket can cause overheating if the wiring or socket is worn. It is acceptable as an occasional top-up. For daily charging, a dedicated 7kW wall charger on its own circuit is safer, faster and far kinder to your installation.
How long does it take to install a home EV charger?
A straightforward install with a short cable run from an accessible consumer unit typically takes three to five hours. Add time for a longer run, cable routing through walls or a detached garage, or a consumer unit upgrade, which can push the job to a full day or more. The pre-installation survey, testing and commissioning add to that. Book the survey first so the electrician can confirm the route, earthing arrangement and any load management needed before the fitting day.
A safe charger installation comes down to the survey, the supply and the certification, not the box on the wall. If your consumer unit is old, your supply is limited, or you simply want it done properly the first time, Knox Power & Data can help. Our NAPIT-registered team handles the full assessment, installation and testing, with transparent pricing and full certification. Get a quote from Knox Power & Data and charge at home with confidence.