 how-to
Installing Cat6 Network in Your Home: A Step-by-Step Guide
Table of Contents
- What You'll Need: Tools Required for Ethernet Installation
- Planning Your Cable Route and Network Layout
- Step-by-Step Installation: Installing Cat6 Network Cabling
- Best Practices for Home Network Cabling
- Testing Your Network and Troubleshooting Common Failures
- Cat6 Installation Cost UK: Budgeting Your Project
- DIY vs. Professional Installation: Making the Right Choice
- Frequently Asked Questions
Last Updated: September 30, 2026
What You'll Need: Tools Required for Ethernet Installation
Installing Cat6 network cabling requires specific tools and materials. Here's what you need:
- Crimp tool - compresses RJ45 connectors onto cable ends
- Punch-down tool - terminates cables into wall plates and keystones
- Cable tester - verifies continuity and proper wiring
- Wire strippers - removes outer jacket from Cat6 cable
- Fishing tape - pulls cable through walls and conduit
- Conduit - protects cables running through walls
- RJ45 connectors and keystone jacks - connection endpoints
- Wall plates - house keystones in finished walls
- Patch panel - centralizes network connections
- Network switch - distributes gigabit connections
Planning Your Cable Route and Network Layout
Map out your entire network before running cable. Identify rooms needing network access and choose a central location for your patch panel and switch, a utility closet, attic, or cabinet works well. All cables radiate from this hub to wall plates throughout your home.
Retrofitting vs. New Construction Considerations
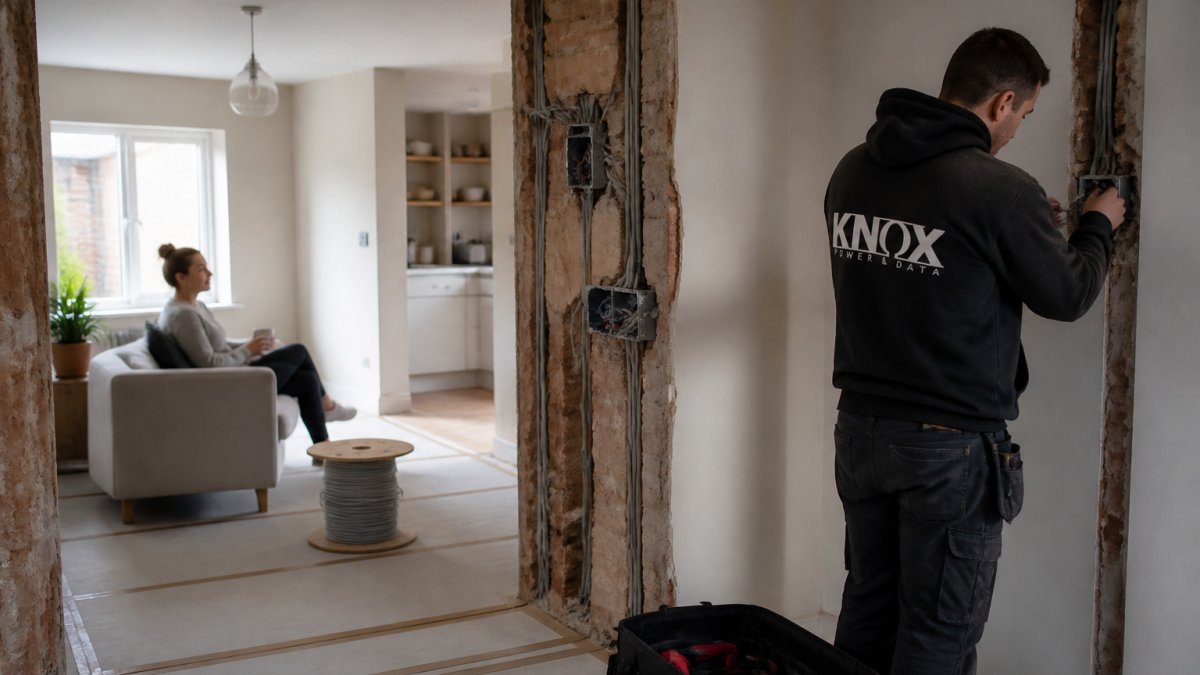
Retrofitting requires fishing tape to pull cable through existing wall cavities and may encounter blocking or pipes. Older homes with plaster are difficult; modern drywall is easier. Brick or stone requires surface-mounted conduit. Assess your walls before committing to a route.
Cable Management for Aesthetics and Performance
Bundle cables with velcro straps, not zip ties, which crush jackets and degrade performance. Velcro allows later adjustments without cutting.
Step-by-Step Installation: Installing Cat6 Network Cabling
Installing Cat6 network cabling follows a consistent process: run cable, terminate ends, test connections. Each step builds on the previous one.
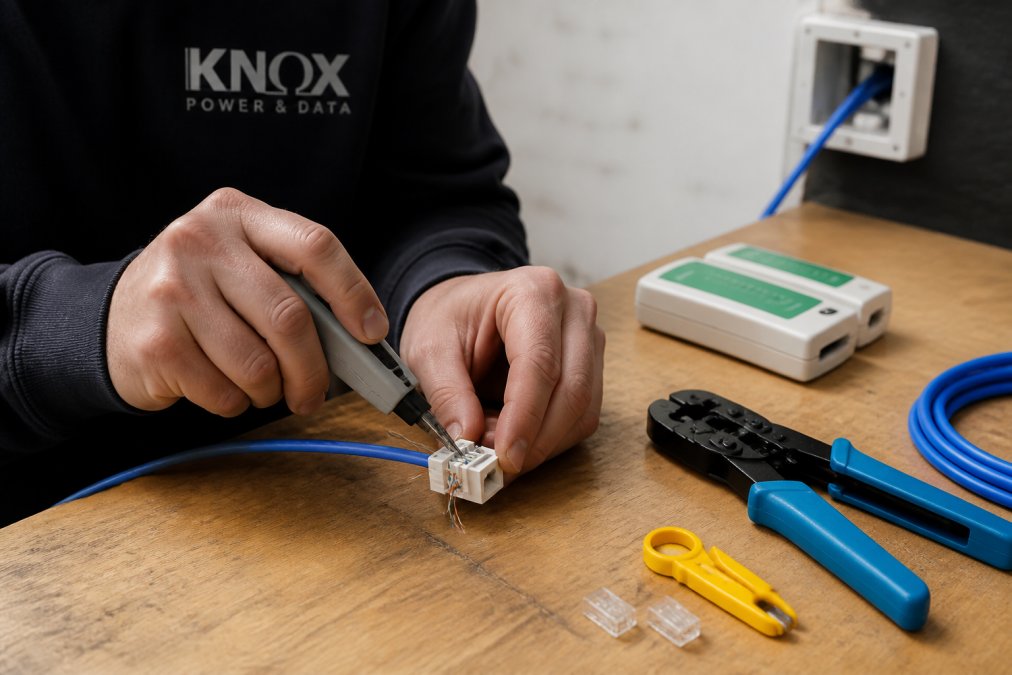
Running Cable Through Walls and Conduit
Secure conduit to studs with clips, leaving slight slack for thermal expansion. Use fishing tape to pull cable through conduit, attaching with electrical tape. Pull steadily; if you feel excessive resistance, stop and check for obstructions. For long runs, pull from both ends simultaneously.
Terminating Cables and Installing Wall Plates
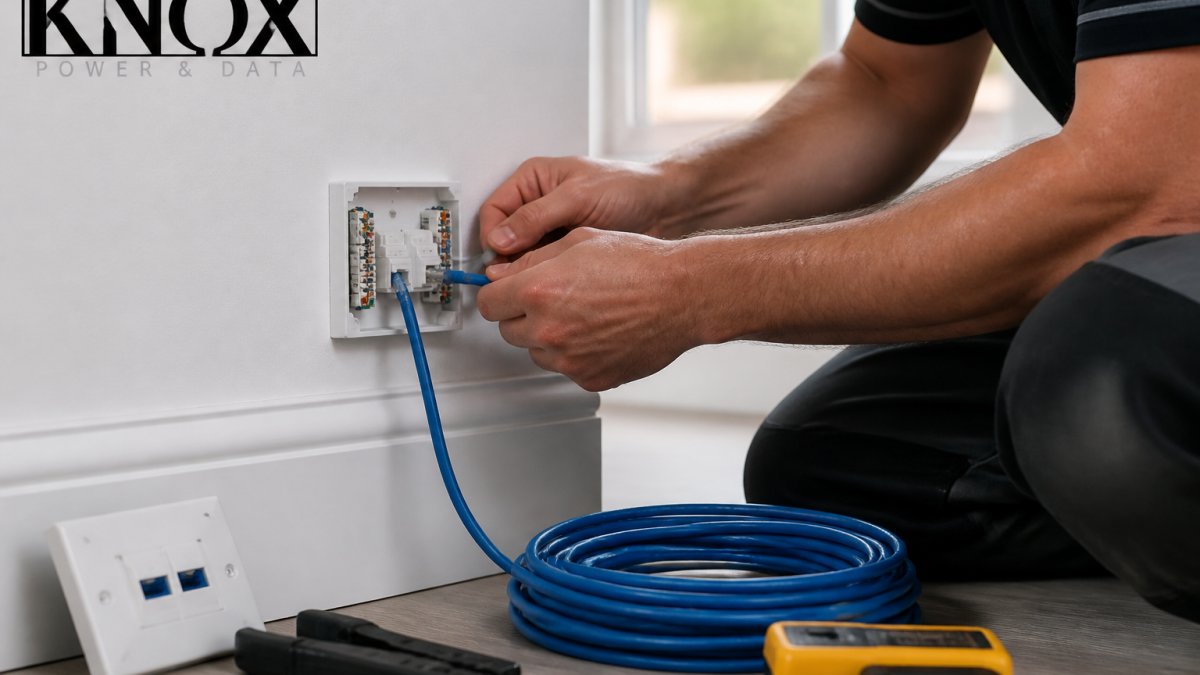
Use the T568B wiring standard for all terminations. T568B order: white-orange, orange, white-green, blue, white-blue, green, white-brown, brown. Strip 5 centimetres of outer jacket, untwist pairs gently, arrange in T568B order, insert into the keystone jack, and press down firmly with your punch-down tool.
Connecting to Your Patch Panel and Network Switch
Terminate all cables using T568B and label each with its location. Connect your network switch to the patch panel using short patch cables. PoE switches deliver power to wireless access points and security cameras. Leave space for future expansion.
Best Practices for Home Network Cabling
Test every connection before closing walls. Use quality components, professional-grade keystones cost slightly more but last longer. Document everything with photos and a network diagram. Connect each wall plate directly to the patch panel or switch, avoiding daisy-chaining. Keep power and data cables separated; when they must cross, do so at right angles. Plan for future upgrades by leaving conduit space.
Testing Your Network and Troubleshooting Common Failures
A proper test takes 30 minutes and prevents weeks of frustration by revealing problems before they affect your devices.
Cable Testing: What Your Tester Is Actually Telling You
A cable tester is your primary diagnostic tool. Understanding what it measures, and what it doesn't, is critical to troubleshooting effectively.
Testing procedure:
- Test each cable run before closing walls. Attach RJ45 connectors to both ends and plug the tester into one end.
- Verify wiring order matches T568B.
- If the tester shows an open, the cable is broken or connector not crimped properly, re-crimp or replace.
- If the tester shows a short, the cable jacket is damaged or connector faulty, replace it.
- If the tester shows reversed pairs or crossed wires, re-terminate the cable.
- If the tester passes but an advanced tester shows high attenuation (above 6 dB), the cable may be damaged, replace it.
Speed Testing and Real-World Performance Validation
Validate real-world performance by connecting a device to each wall outlet and running a local network speed test (using iPerf). Gigabit connections should achieve 900+ Mbps. Under 100 Mbps indicates the connection has fallen back to Fast Ethernet, suggesting a serious problem. Test each outlet individually.
Diagnostic Flowchart for Common Failures
No connection at all (no link light on the switch port):
- Check the cable tester first. If it shows an open, the cable is broken. Replace it.
- If the tester passes, the problem is not the cable. Check the switch port: does the port's LED light up when you plug in a cable? If not, the port is faulty. Try a different port on the switch.
- If a different port works, the original port is dead. If no ports work, the switch itself is faulty.
- If the port lights up but no connection is established, check the keystone jack. Unplug the cable from the keystone and test it directly into the switch using a short patch cable. If this works, the keystone is faulty, replace it.
- If the cable still does not work when plugged directly into the switch, re-terminate the cable end. Poor termination is the most common cause of no-link failures.
Intermittent connection (link works sometimes, drops randomly):
- This is almost always a termination problem. The connection works at low speeds but fails under load. Re-terminate the affected cable end, paying careful attention to wire order and ensuring the RJ45 connector is fully seated.
- If re-termination does not fix it, the cable may be partially damaged. Test it with an advanced cable tester to check for high attenuation or crosstalk. If the tester shows problems, replace the cable.
- If the tester passes, the problem may be the keystone jack. Unplug the cable and inspect the jack for bent pins or corrosion. Replace the keystone if damaged.
- If the cable, termination, and keystone are all sound, the switch port may be intermittently faulty. Try a different port.
Slow speeds (connection established but under 500 Mbps):
-
First, verify the connection speed reported by your device. On Windows, open Device Manager, find your network adapter, and check the link speed. On macOS, hold Option and click the Wi-Fi icon, then check the connection details. If the link speed is 100 Mbps instead of 1000 Mbps, the connection has fallen back to Fast Ethernet, this indicates a serious cable or termination problem.
-
If the link speed is 1000 Mbps but throughput is slow, test the cable with an advanced tester. High attenuation (above 6 dB) or crosstalk indicates cable degradation. Replace the cable.
-
Check for interference. Power cables running parallel to Cat6 (within 15 cm) cause crosstalk and slow speeds. Reroute the Cat6 away from power cables or wrap power cables in shielded conduit.
-
Check for cable damage. Bent cables, crushed jackets, or kinks reduce signal quality. Inspect the full length of the cable. If damaged, replace it.
-
If the cable is sound and no interference is present, the switch port may be faulty. Try a different port. If speeds improve, the original port is degraded.
-
If speeds remain slow on all ports, your switch may be overloaded or faulty. Restart the switch and test again. If the problem persists, replace the switch.
-
This indicates a partial break in the cable. One pair of wires may be open or shorted. Test the cable with your tester. If the tester shows an open or short, replace the cable.
-
If the tester passes, the problem is likely a loose or corroded connection at one end. Unplug the cable and inspect both RJ45 connectors for bent pins, corrosion, or debris. Clean with a dry cloth and reconnect firmly.
-
If the connectors are sound, re-terminate the problematic end. Asymmetrical failures are often caused by one pair of wires not being fully inserted into the RJ45 connector.
Multiple outlets in one room fail simultaneously:
- The problem is likely at the source, not the individual cables. Check the patch panel: are all cables for that room properly terminated? Is the patch cable from the patch panel to the switch firmly seated?
- Test the patch cable with your tester. If it fails, replace it.
- If the patch cable is sound, check the switch port. Try plugging the patch cable into a different switch port. If this fixes the problem, the original port is faulty.
- If a different switch port does not help, the wall plate or keystones in that room may be faulty. Test one cable from that room by running it directly to the switch using a short patch cable. If this works, the keystones are faulty, replace them.
- If the cable still fails when tested directly, the cable itself is damaged. Replace it.
Documentation and Record-Keeping for Future Troubleshooting
After testing, document your results. Record the speed achieved at each outlet, the cable tester results, and any anomalies. Take photos of your patch panel with labels clearly visible. Create a simple spreadsheet: Room, Outlet Number, Cable Length, Speed Test Result, Tester Result, Notes.
Cat6 Installation Cost UK: Budgeting Your Project
Measure cable runs precisely and add 10% for waste. List every component and get supplier quotes. Professional installation costs more than DIY but saves time and reduces errors. Consider Cat6a for future-proofing, though standard Cat6 suffices for most homes.
DIY vs. Professional Installation: Making the Right Choice
Choose DIY if you have moderate electrical knowledge and time available. Choose professional installation if your home is complex or walls are difficult to access. Consider a hybrid approach: run your own cable, then hire professionals for termination and testing.
Frequently Asked Questions
Is Cat6 overkill for home use?
Cat6 supports gigabit network speeds and handles bandwidth demands for streaming, gaming, and smart home devices effectively. For most homes, Cat6 provides future-proofing without excessive cost. If you're running fibre-to-the-premises or anticipate heavy network traffic across multiple devices, Cat6 delivers the throughput needed. Cat5e handles basic browsing, but Cat6 is the practical choice for modern households planning to keep their cabling infrastructure for 10+ years.
What tools are essential for installing Cat6 cabling?
You'll need a crimper tool for RJ45 connectors, a punch-down tool for terminating cables into keystones and wall plates, a cable tester to verify continuity, wire strippers, a fish tape for routing cable through walls, and a conduit (rigid or flexible tubing) to protect runs. A network switch or PoE switch completes your setup. Quality tools prevent installation errors and ensure reliable gigabit performance. Budget for both hand tools and a basic continuity tester; they're essential for proper termination and troubleshooting.
How much does Cat6 installation cost in a typical home?
Cost depends on cable length, number of runs, whether you're retrofitting existing walls or building new, and labour complexity. Material costs for Cat6 bulk cable are modest, but labour, conduit, wall plates, keystones, and testing add up quickly. For budgeting guidance and a quote tailored to your home's layout, contact Knox Power & Data directly. Professional installation ensures compliance with BS 7671 standards.
What's the difference between Cat6 and Cat6a for home networks?
Cat6a supports higher data rates and operates at longer distances with less latency and crosstalk than standard Cat6. For most homes, Cat6 is sufficient and more cost-effective. Cat6a suits large properties, commercial offices, or setups requiring shielded twisted pair cabling in high-interference environments. Both use RJ45 connectors and T568B wiring standards. Choose Cat6a if your home has significant electrical interference or you're installing a network topology for smart homes with many access points and bandwidth-heavy devices.
Installing a Cat6 network in your home is achievable with proper planning and tools. Start with clear cable routes, use quality components, and test every connection. If the scope exceeds your comfort level, professional installation ensures your network performs reliably for years. Get in touch with Knox Power & Data for a quote on professional Cat6 installation that meets the highest standards.