 how-to
How to Test Home Smoke Alarms: A 2026 Guide
Table of Contents
- How to Test Home Smoke Alarms: Step-by-Step
- How Often to Test Smoke Alarms
- Hard-Wired Smoke Alarm Troubleshooting
- Smoke Alarm Replacement Intervals and Expiry Dates
- Cleaning and Maintenance for Reliable Smoke Detection
- When to Call a Professional Electrician
- Conclusion
- Frequently Asked Questions
Last Updated: October 4, 2026
How to Test Home Smoke Alarms: Step-by-Step
Knowing how to test home smoke alarms takes about ten seconds per unit, and it is the single most effective thing you can do to protect your household. A working alarm gives you early warning of a fire. A dead one gives you nothing. This guide from Knox Power & Data walks through the full process, from pressing the test button to knowing when a unit needs replacing.
Most people press the button once a year, hear a beep, and call it done. That is not enough. Alarms can fail silently, and a unit that beeps during a test may still have a blocked sensor or a dying battery.
Here is the full routine we recommend, plus the fixes for when a test fails.
A smoke alarm is a device that detects smoke particles in the air and sounds a loud warning before a fire spreads. Most homes have either ionisation or optical sensors, and each type needs the same basic testing routine.
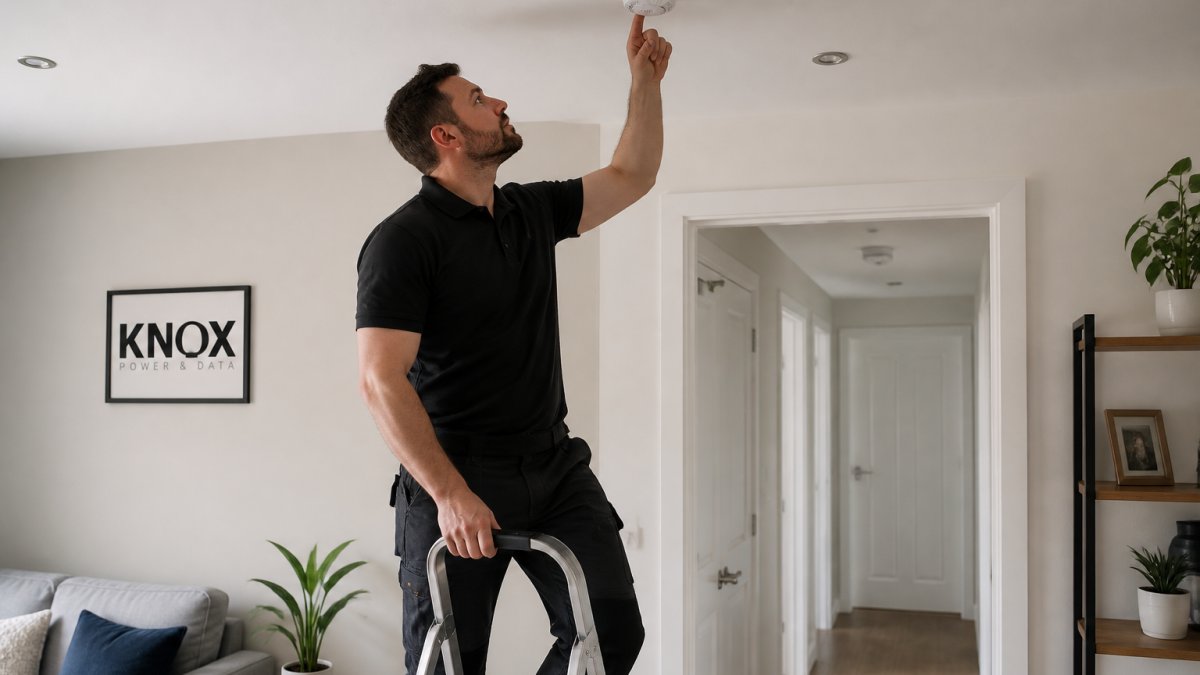
Step 1: Locate the Test Button
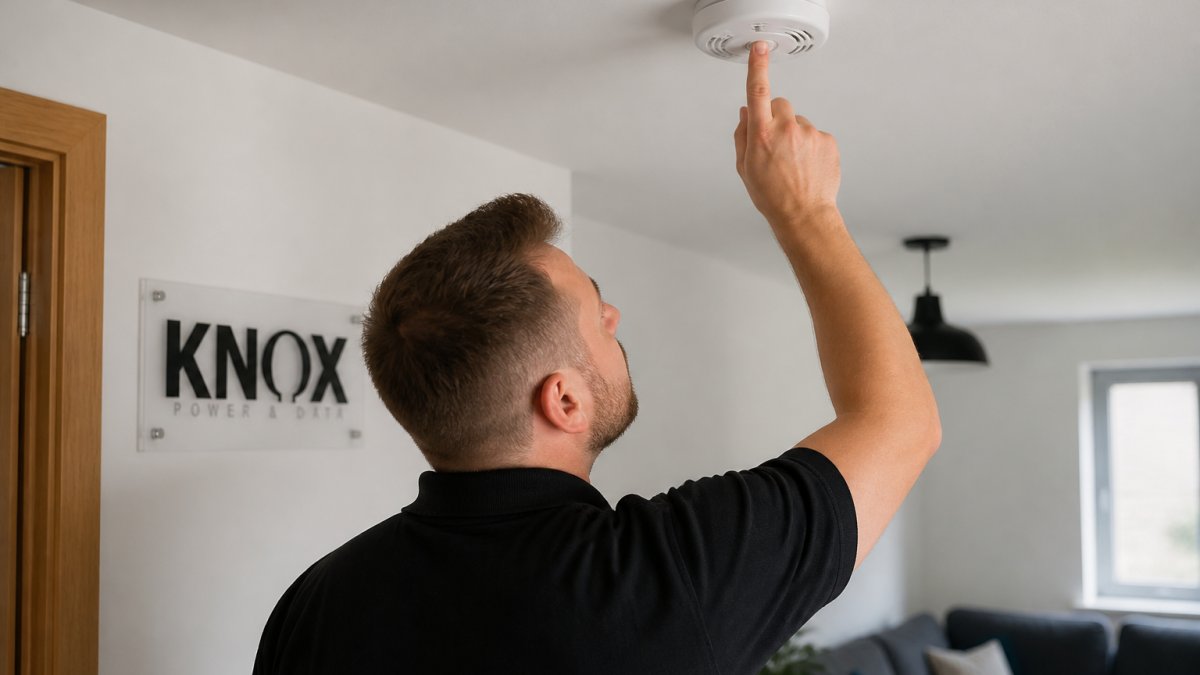
The test button sits on the face or side of the alarm, usually marked "Test" or "Test/Hush". On ceiling-mounted units, you will need a step stool to reach it safely. Never stand on a chair.
Step 2: Press and Hold
Press the button and hold it for a few seconds. Most alarms need a firm press, not a quick tap. On interconnected systems, every linked alarm should sound within a few seconds.
Step 3: Confirm the Audible Signal
A loud, continuous alarm confirms the unit works. A weak chirp, a delayed response, or silence means something is wrong. If nothing happens, replace the battery first. If it still fails, the unit likely needs replacing.
How Often to Test Smoke Alarms
Test every smoke alarm once a week, and never less than once a month. Weekly testing catches battery drain and sensor faults early. It takes seconds and costs nothing.
The government fire safety guidance for homes recommends regular testing as part of a basic home safety routine. Here is a simple schedule to follow:
| Task | How Often | Time Needed |
|---|---|---|
| Press the test button | Weekly | 10 seconds per alarm |
| Clean the unit | Every 6 months | 5 minutes |
| Replace the battery | Yearly, or when it chirps | 5 minutes |
| Replace the whole unit | Every 10 years | Varies |
What Counts as a Pass
A passing test is not just 'it made a noise'. The alarm should sound within a second or two of the button being pressed, at full volume, and continue for as long as you hold the button. A weak, crackly, or intermittent sound is a fail even if a beep is audible. On interconnected systems, every linked alarm should sound, not just the one you pressed.
A Weekly Routine That Actually Sticks
Most people forget because testing is not tied to anything. Link it to an existing habit:
- Test on the same day each week, such as Sunday morning before breakfast.
- Walk the property in the same order every time so no unit is missed.
- Note the result on a phone or a fridge checklist, a tick per unit is enough.
- If a unit fails, replace the battery the same day, not 'later'.
Monthly and Annual Checks That Add Depth
Weekly button presses do not catch everything. Once a month, do a visual check of each unit: look for dust build-up, insect ingress around the vents, and any sign of scorching or discolouration. Once a year, test the alarm with a small amount of real smoke, a blown-out match or a purpose-made smoke test aerosol held at a safe distance, to confirm the sensor itself responds, not just the test circuit. This is the step most guides skip, and it is the one that catches a blocked or degraded sensor.
Hard-Wired Smoke Alarm Troubleshooting
Hard-wired alarms draw power from your home's mains supply, often with a battery backup. They are more reliable day to day, but testing differs from battery-only units, and interconnected systems add a layer most guides ignore.
When you press the test button on a hard-wired alarm, you are testing the alarm circuit, not the mains wiring. If the unit stays silent, check the battery backup first. A dead backup battery can stop the alarm from sounding even when mains power is fine.
How Interconnected Systems Behave on Test
On a linked system, pressing one test button should trigger every alarm on the circuit within a few seconds. If only the pressed unit sounds, the interconnect wire or its terminal is likely at fault. If every unit sounds but one is noticeably quieter or slower, that unit's sounder or backup battery is degrading. Test each unit in turn, not just the nearest one, a fault on a single device can be masked when the others are loud enough to cover it.
A Diagnostic Order That Saves Time
Work through this sequence before calling anyone out:
- Confirm mains power. Check the circuit breaker at the consumer unit has not tripped. If it has, reset it once and retest. If it trips again, stop and call an electrician.
- Replace the backup battery. Use the type specified on the unit, usually a 9V or a sealed lithium cell. Retest.
- Isolate the suspect unit. On a linked system, disconnect the interconnect terminal on the suspect alarm (with the power off) and test the rest. If the others now test cleanly, the fault is in that unit.
- Check for dust and insects. A blocked sensor chamber is the most common cause of a unit that chirps or false-alarms after a battery change.
- Retest the full system. Once the fault is cleared, press each test button in turn and confirm every linked alarm sounds.
Common hard-wired faults include:
- Silent alarm on test: Dead backup battery, tripped circuit breaker, or a failed sounder.
- Constant chirping: Low backup battery, even with mains power connected.
- One unit failing in a linked system: A wiring fault on the interconnect terminal or a failed unit.
- Alarm sounding with no smoke: Dust or insect ingress in the sensor chamber.
- All units silent: A tripped breaker or a fault at the first unit on the circuit.
If a hard-wired alarm keeps failing after a battery change, and the breaker is sound, the issue is likely in the wiring or the unit itself. That is a job for a qualified electrician, not a DIY fix.
Smoke Alarm Replacement Intervals and Expiry Dates
Replace every smoke alarm within 10 years of its manufacture date, even if it still passes tests. Sensors degrade over time, and an old unit may not detect smoke as quickly.
Check the back of each alarm for a manufacture date or expiry sticker. If you cannot find one, treat the unit as expired and replace it. Landlords should log these dates as part of regular property checks.
For landlords managing multiple properties, a simple spreadsheet with unit locations and dates makes compliance far easier.
Cleaning and Maintenance for Reliable Smoke Detection
Dust and insects are the most common causes of false alarms and failed tests. Cleaning each unit twice a year keeps the sensor chamber clear.
Here is how to clean a smoke alarm safely:
- Switch off power to hard-wired units at the consumer unit
- Remove the unit from its base if the design allows
- Vacuum the vents and sensor chamber with a soft brush attachment
- Wipe the casing with a damp cloth, then dry it fully
- Press the test button to confirm it still works
- Reconnect power and check the indicator light
Never use cleaning sprays, solvents, or water inside the unit. Moisture and chemicals can damage the sensor.
When to Call a Professional Electrician
Call a qualified electrician when a hard-wired alarm fails after a battery change, when multiple linked alarms misbehave, or when you need new units installed. These are wiring issues, not simple fixes.
Signs you need professional help:
- A hard-wired alarm that stays silent on test
- Repeated false alarms after cleaning
- Linked alarms that no longer trigger together
- Adding alarms to an existing system
- Any sign of scorching or heat damage near the unit
At Knox Power & Data, our NAPIT-registered team installs and tests smoke alarm systems across West Yorkshire. We work to BS 7671 18th Edition standards, so every installation is fully tested and certified.
Conclusion
A smoke alarm you never test is a gamble you cannot afford to lose. Weekly button presses, twice-yearly cleaning, and timely replacements keep your household protected.
If your hard-wired alarms keep failing, or you need new units installed and certified, Knox Power & Data can help. Our NAPIT-registered electricians handle installation, testing, and replacement across West Yorkshire, with same-day availability for urgent jobs. Get a quote today and make sure every alarm in your home actually works.
Frequently Asked Questions
How can I test if my smoke alarm is working properly?
Press and hold the test button for a few seconds until you hear the alarm sound. The audible signal should be loud and clear. If your alarm has a hush button, pressing it should silence the alarm temporarily. For hard-wired alarms, the test button works the same way, but you should also check that the green power light is on. If there's no sound or the alarm seems weak, the battery or the unit itself may need replacing.
How often should I test my smoke alarms?
Test every smoke alarm weekly using the test button. This takes seconds and confirms the sensor and sounder are working. Beyond weekly testing, replace batteries annually (or when the low-battery chirp starts), and replace the entire alarm unit every 10 years from the manufacture date.
Why are my hard-wired smoke detectors going off even though there's no smoke?
False alarms from hard-wired smoke alarms often come from dust in the sensor chamber, steam from bathrooms or kitchens, or insects inside the unit. Try vacuuming the alarm gently with a soft brush attachment and pressing the hush button if your model has one. If false alarms continue after cleaning, the alarm may be faulty or at the end of its lifespan. An electrician can test the wiring and replace the unit if needed.
What should I do if my smoke alarm fails the test?
First, replace the battery if it's a battery-operated model and test again. For hard-wired alarms, check the circuit breaker and confirm the unit is receiving power. If the alarm still doesn't sound, the sensor or sounder has likely failed. Replace the alarm immediately. If multiple hard-wired alarms fail together, call a qualified electrician to check the interconnect wiring and power supply, as this can indicate a wider circuit issue.